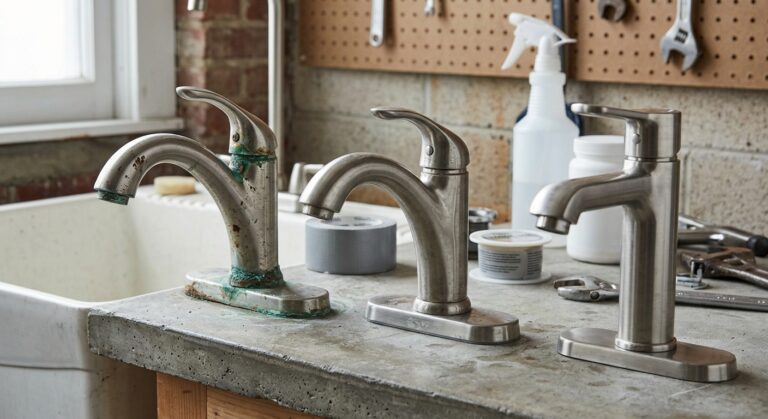
Mould around a shower faucet is not a cleaning problem. It is a materials and installation problem. The caulk or sealant around the valve, the trim ring, and the deck grows mould because water gets trapped behind or under it, and the seal material itself cannot resist mildew. The fix depends on what tier of fixture and seal you installed in the first place.
Budget Seals: Why Cheap Caulk Fails Fast
Most budget faucet installs use siliconized acrylic caulk, sometimes called “painter’s caulk.” It is cheap, easy to tool, and paintable, which is why it ships with builder-grade kits and gets used by installers working fast on a flat rate. The problem is that siliconized acrylic is porous compared to 100% silicone. It absorbs water, stays damp longer after each shower, and gives mould spores a surface to colonize within months, not years.
100% silicone caulk is non-porous. Water beads and runs off instead of soaking in. That single property difference is why a $4 tube of the wrong caulk will grow a mould line in one season while the right caulk on the same joint will not. If your faucet came with a bead of caulk that looks slightly yellowed, chalky, or has a matte finish rather than a slight sheen, it is probably acrylic-based, not silicone.
Mid-Range: Cartridge Drainage and Trapped Water
Mid-range faucets introduce a second failure point: the cartridge or valve body itself. These use a ceramic disc or cartridge to mix hot and cold water, and the housing around that cartridge has small weep holes or drainage channels designed to let residual water escape after each use. On a lot of mid-tier units, those channels are small, and they clog with mineral scale faster than anyone expects, especially in hard water areas.
When drainage is blocked, water sits inside the escutcheon (the decorative plate against the wall) between uses. That trapped moisture migrates to the caulk joint from behind, which means you can have perfect silicone caulk on the surface and still get mould, because the water source is inside the wall assembly, not outside it. This is the tier where people get confused, because they upgraded their caulk and the mould came back anyway. Check the cartridge, not just the sealant.
Premium: Membrane Systems vs Standard Caulk
Premium installations move away from caulk as the primary water barrier and use a waterproofing membrane behind the tile, with caulk only as a cosmetic and secondary seal at the surface. This matters because a membrane system handles water that gets behind the tile at the stud and vapor barrier level, while caulk only ever deals with water at the visible joint. If you are specifying shower valves and trim for a premium remodel, ask your installer whether the shower pan and surround have a membrane (sometimes called a vapor barrier or waterproofing membrane) behind them, not just whether the caulk is silicone.
Even at this tier, the caulk joint around the trim still needs to be mildewcide-rated, which is a different spec from plain 100% silicone. Mildewcide-rated caulk has an added biocide that actively resists mould growth on the caulk surface itself, not just resists water absorption. Standard silicone without that additive is water-resistant but not mould-resistant long-term. Read the tube. If it does not say “mildew-resistant” or list a mildewcide additive, it is standard silicone, and it will eventually host mould even though it does not absorb water.
Ventilation Code Minimums That Prevent Mould
No caulk or membrane fixes a bathroom with inadequate exhaust ventilation. ASHRAE 62.2, the ventilation standard most building codes reference, sets a minimum continuous exhaust rate of 20 CFM (cubic feet per minute) for bathrooms, or 50 CFM for intermittent use fans run during and after showers. If your bathroom fan is undersized, missing, or vented into the attic instead of outside, humidity stays elevated long after you turn off the water, and that humidity feeds mould regardless of what caulk you used.
Before you blame the faucet seal, run your fan during a shower and check if the mirror clears within 10 to 15 minutes afterward. If it does not, your ventilation is undersized for the room, and no fixture upgrade will solve the mould problem on its own.
Re-Caulking Intervals by Budget Tier
Caulk is a wear item, not a permanent installation. How often you should expect to redo it depends on the material and the tier of the original install.
| Tier | Typical caulk type | Expected re-caulk interval |
|---|---|---|
| Budget | Siliconized acrylic, standard (non-mildewcide) | 1 to 2 years |
| Mid-range | 100% silicone, standard | 2 to 3 years |
| Premium | 100% silicone, mildewcide-rated, with membrane backing | 4 to 5 years |
These are planning numbers, not guarantees. Actual interval depends on your water hardness, how well the bathroom ventilates, and how aggressively you clean the joint (scrubbing with abrasive pads shortens caulk life by breaking the surface seal).
What to Check Before You Buy
You can predict mould problems before you ever turn on the water, if you know what to look at during a faucet purchase or before you sign off on an installer’s bid. Use this list at the showroom or before approving install materials:
- Ask what caulk the installer plans to use. The answer should be “100% silicone, mildewcide-rated,” not just “silicone” or “caulk.”
- For any cartridge-style faucet, ask about the weep hole or drainage channel size and whether it is rated for your local water hardness.
- If you are tiling a new shower surround, ask whether a waterproofing membrane goes behind the tile, separate from the surface caulk.
- Check your bathroom exhaust fan’s CFM rating against the room size. A fan under 50 CFM in a standard 5×8 bathroom is usually undersized for shower use.
- Avoid acrylic or latex caulk labeled “paintable” for wet areas. That label is a signal it is not the non-porous silicone you want at a shower joint.
If mould keeps returning after a re-caulk done within the last year, the problem is almost never the caulk brand. Pull the escutcheon plate and check for standing water or scale buildup around the cartridge, and run a fan test as described above. If both check out clean and mould still recurs, that points to a membrane or vapor barrier failure behind the tile, which is a job for a licensed plumber or tile contractor, not a recaulking weekend.